Description
Introduction
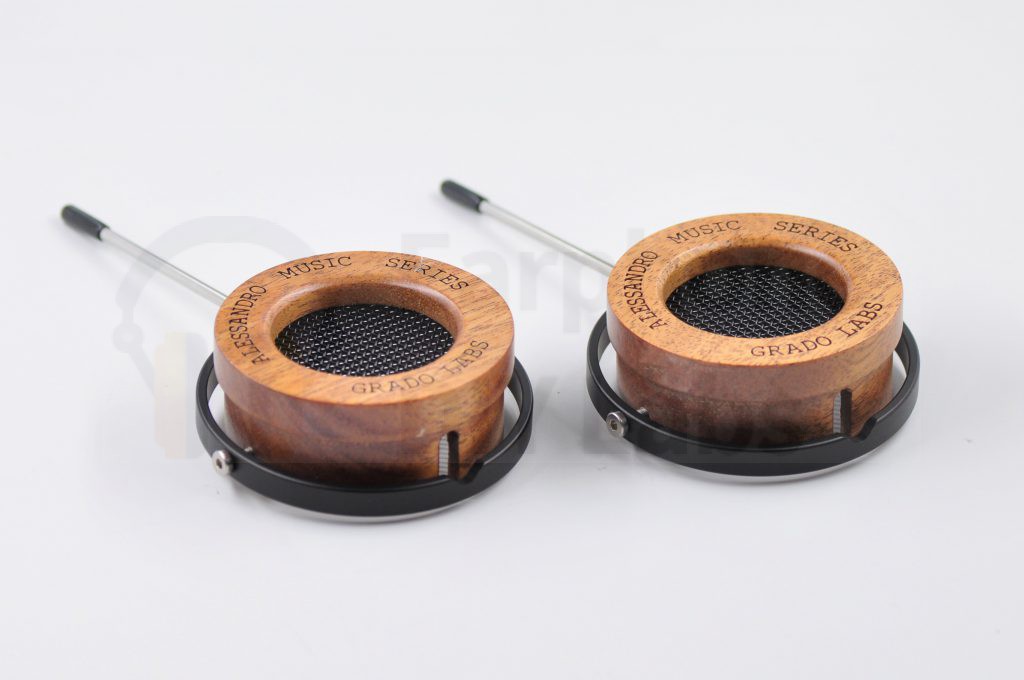
This is a DIY kit fully compatible with Grado Alessandro Music Pro headphone series. It includes Mahogany cups, stainless steel cup surrounding, standard Grado cushions, headband and all the accessories to repair your MS Pro headphones, or upgrade any low end Grado headphones with plastic shells. The genuine wood shells can absorb harmful vibrations and greatly improve the sound quality. Following are compatible models we’ve verified with:
- Grado SR80, SR80e
- Grado SR125, SR225
- Grado M1
- Grado SR60, SR60e
These are different combinations you can pick freely in order options:
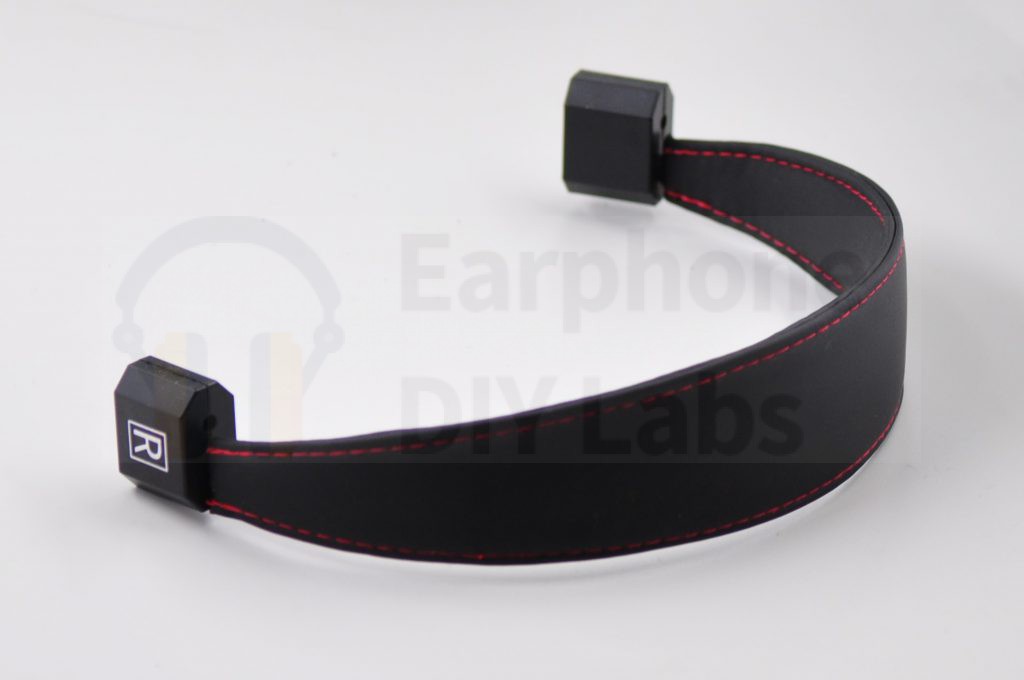
If you are also looking for replacing or updating the headband together, this artificial leather headband is good option.
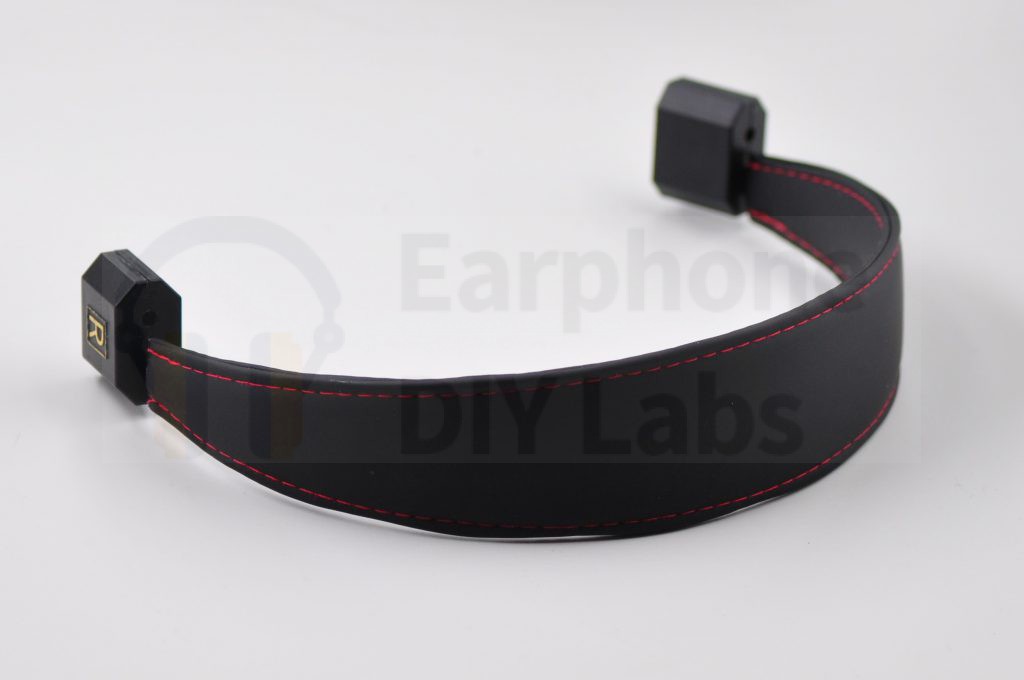
Note we also offer upgraded, genuine leather headbands not included in this kit but can be ordered separately:
Package list
We include everything you need (expect the headband) to upgrade or repair your Grado headphones.
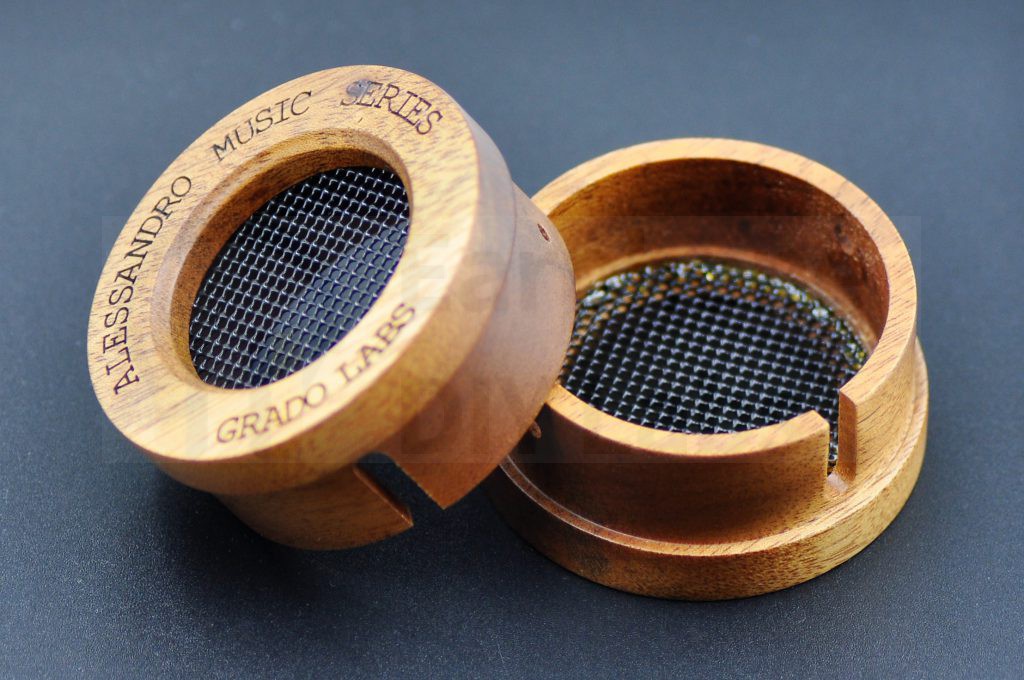
- 2 X Grado Ms Pro wood cups
- 2 X Stainless steel anti-dust net (pre-installed)
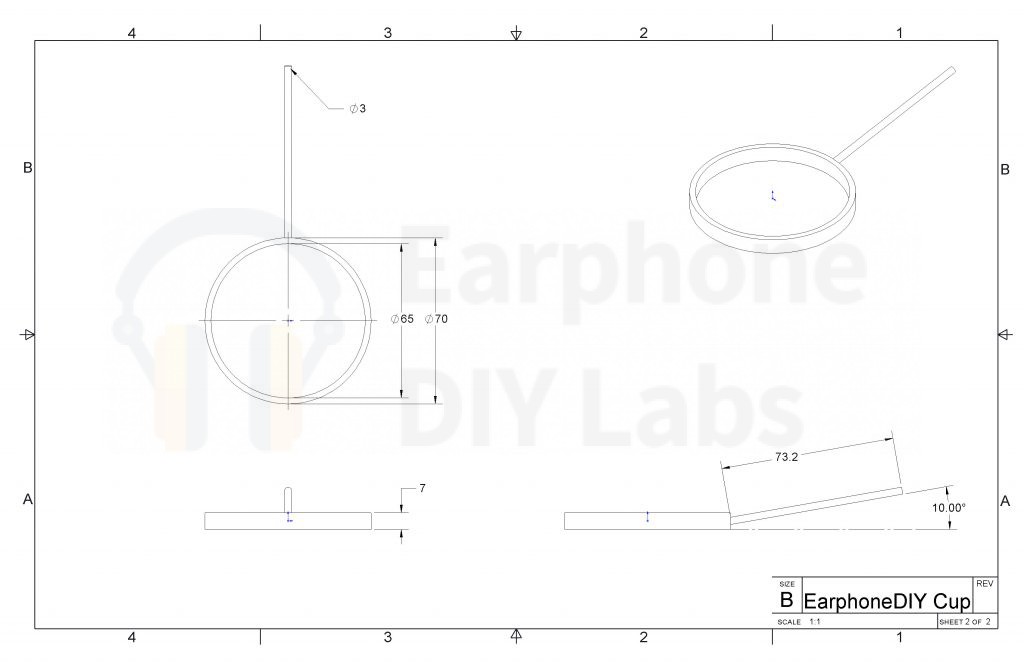
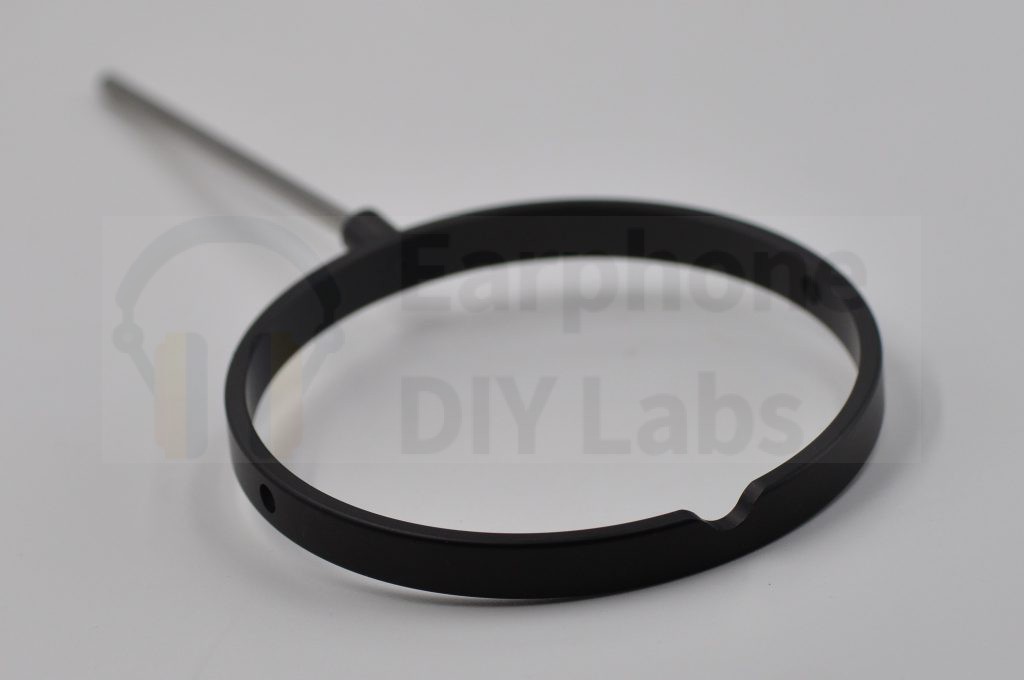
- 2 X Grado Gimbals (cup surrounding, pre-installed with the cup) in silver or black
- Headband (optional)
- Grado cushions (earpads, optional)
DIY tutorial to upgrade your Grado Headphones
Here is a step by step tutorial to upgrade your low-end, <$100 Grado headphones (e.g., SR60e) to a high-end, $400+ Alessandro Music Pro.
This is the SR60 headphone which you can buy from ebay in $60 or even less.
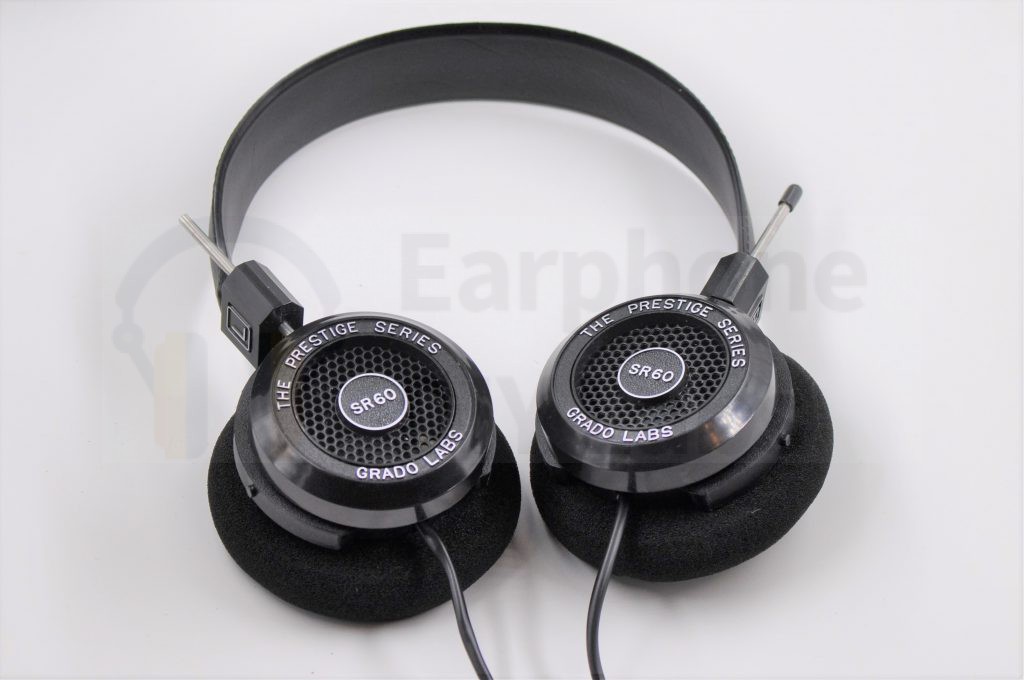
Step 1, take off cups from the headband and remove the cushion
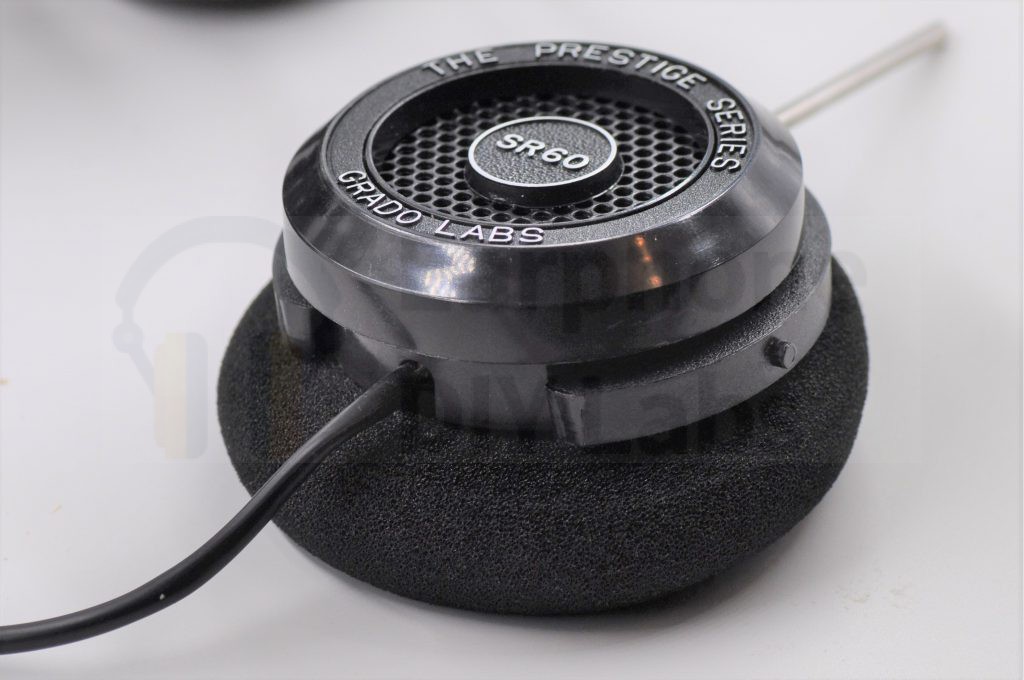
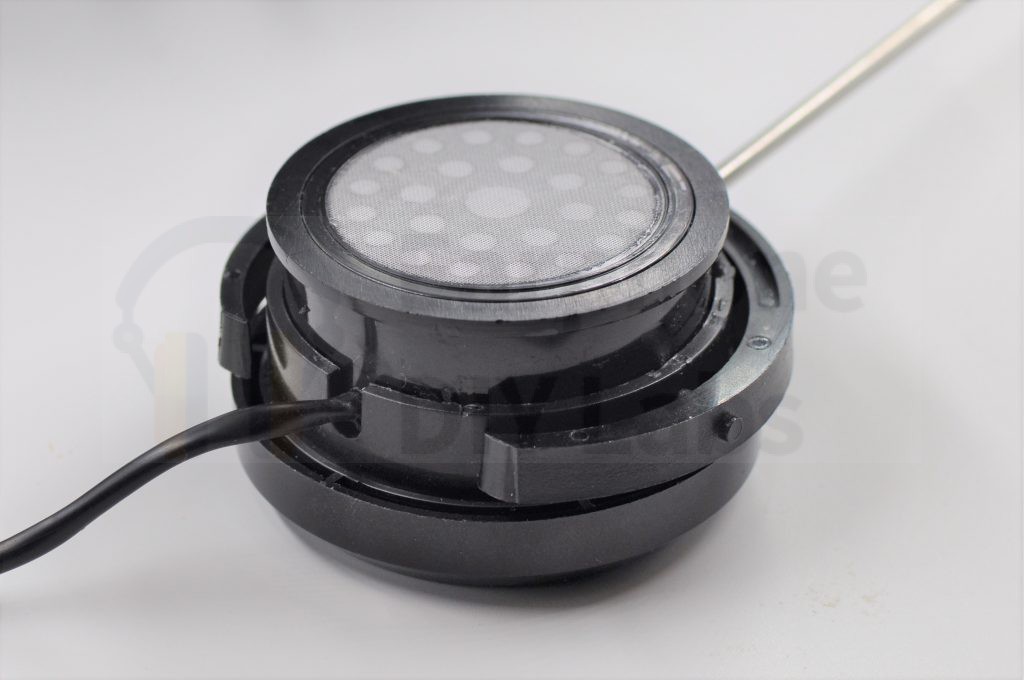
Step 2, take the drivers with sleeves out of the old shell
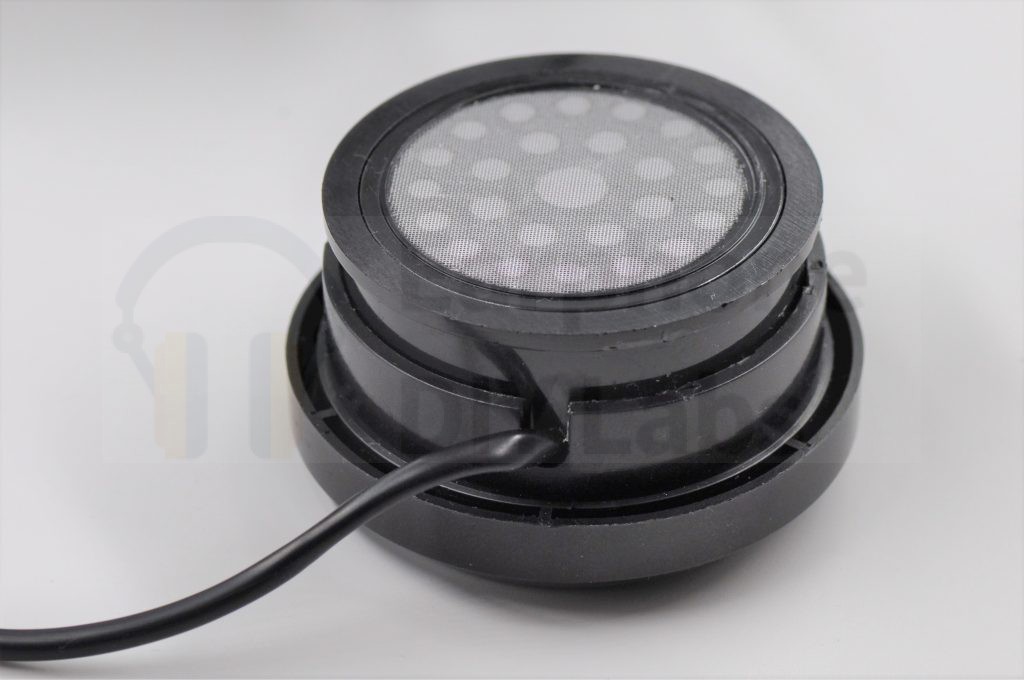
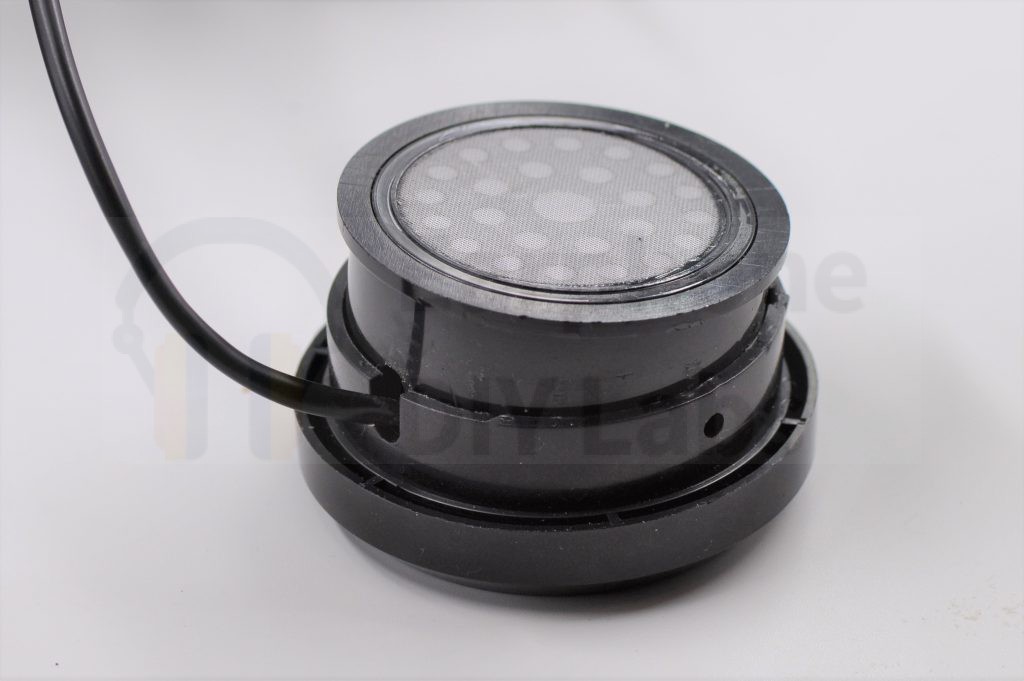
Step 3, Install the drivers with sleeves into the new wood cups
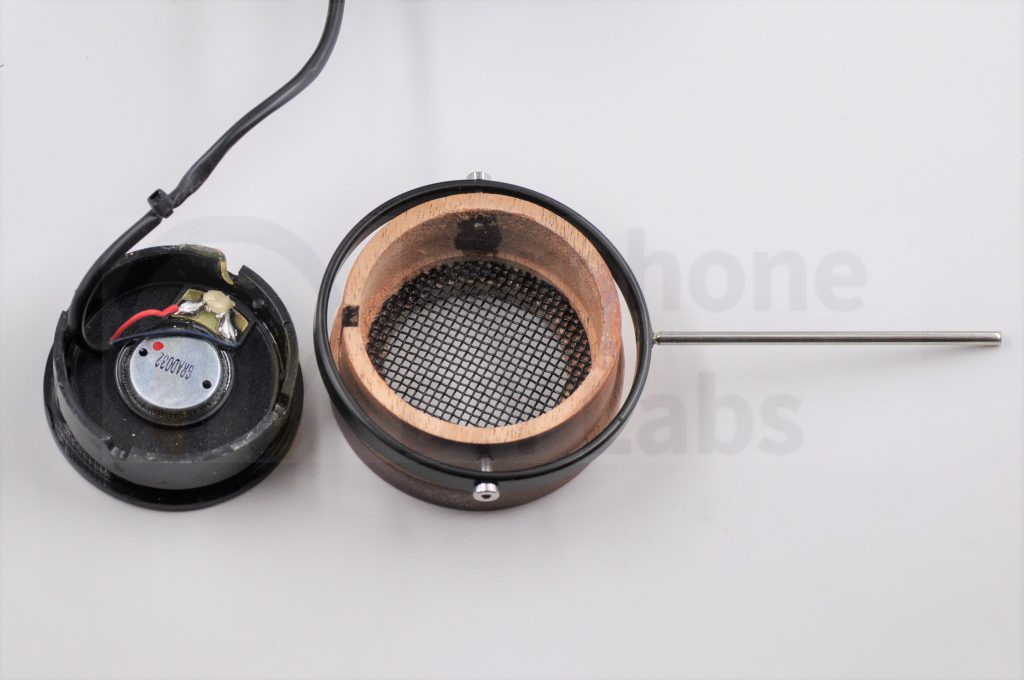

Step 4, glue the drivers with sleeves and install back to the headband
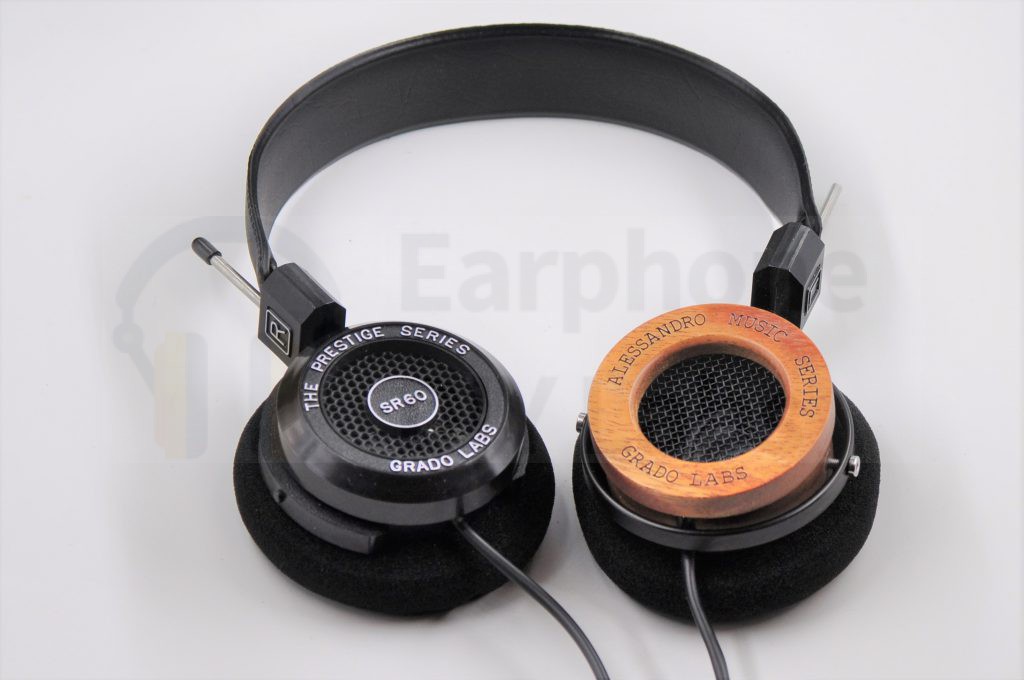
Final step, repeat step 2-4 on both sides and done!
Another DIY tutorial on YouTube
Feedback from DIY communities
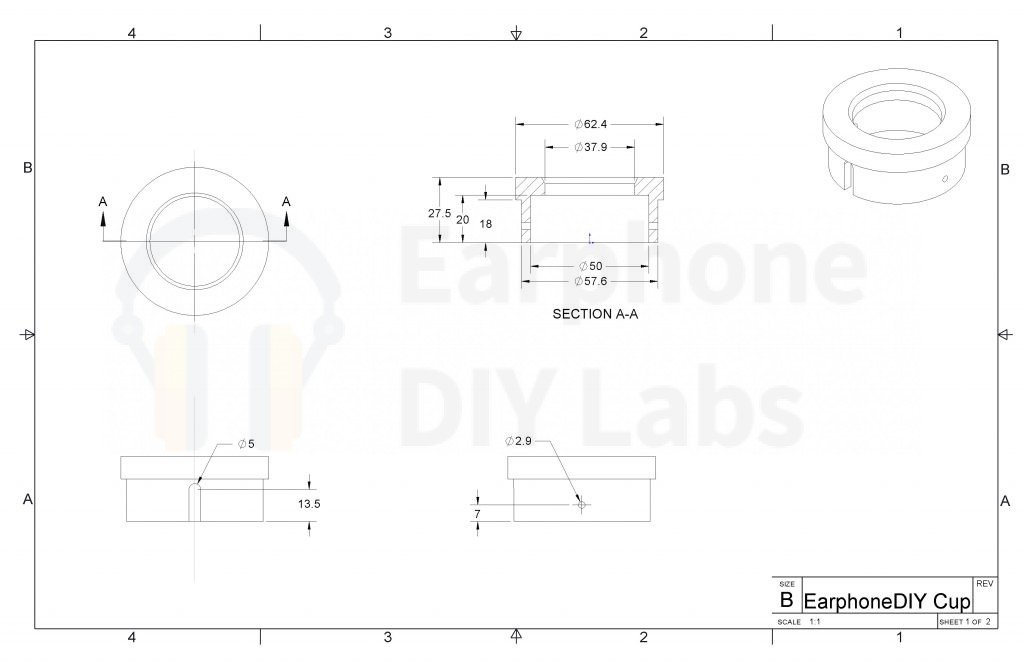
From head-fi.org: Earphone DIY Labs Wood Grado Cups + Dimensions!
Product pictures
The wood cups

Grado Gimbals

Headbands
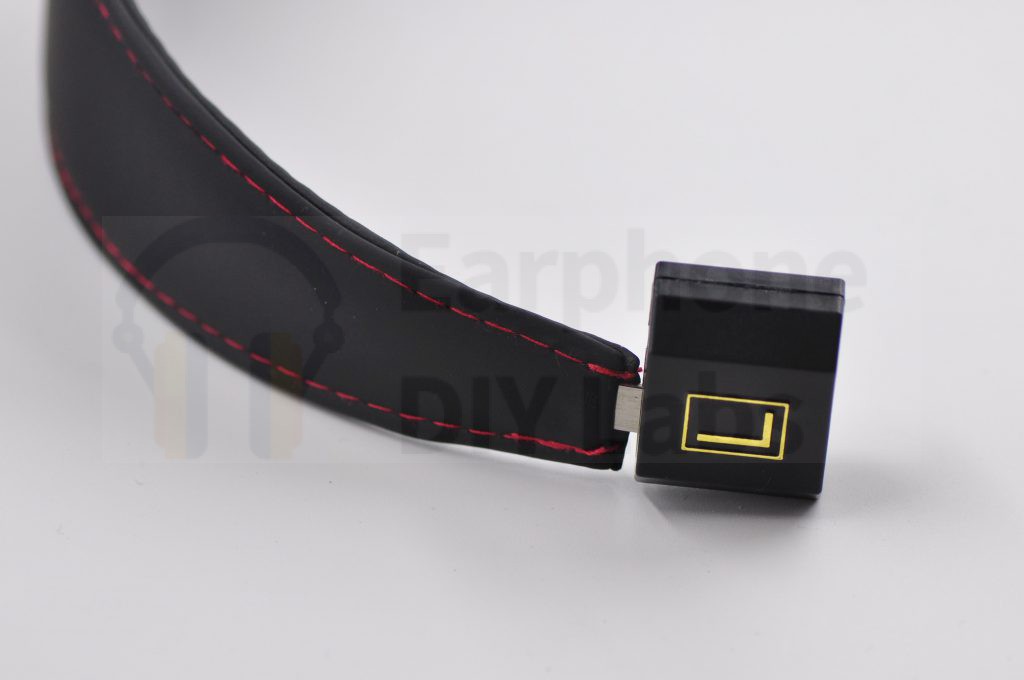
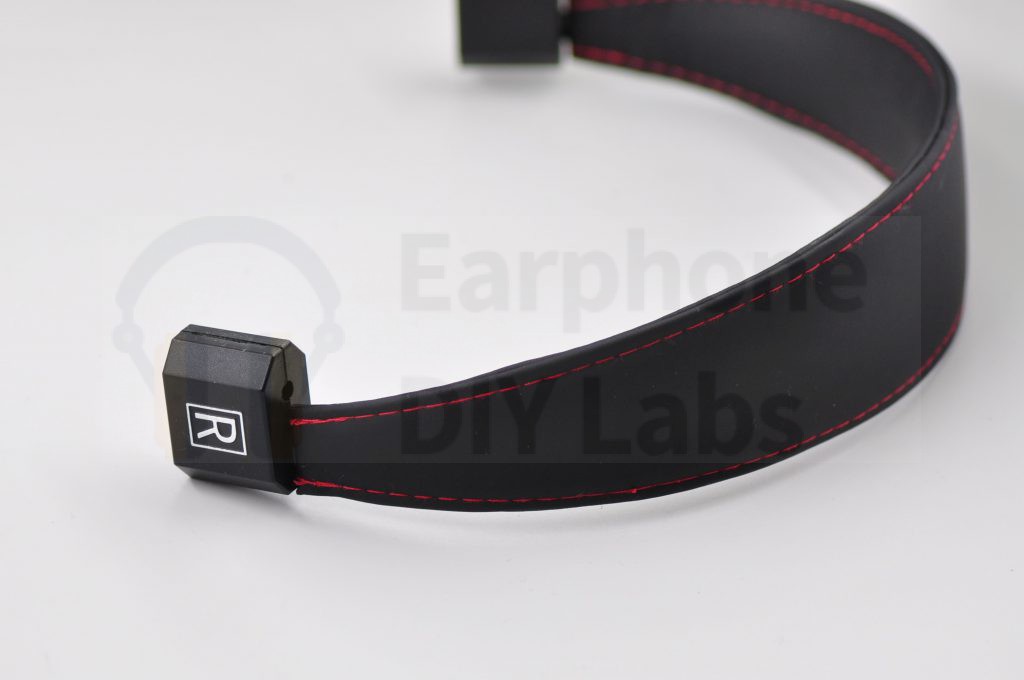
Grado headbands built with high quality artificial leather, high density foam padding, stainless steel band and high quality Grado lockers with silver or golden L/R logo.
Ear pads (sponge cushions)
We offer 3 types of cushions: type G, S and L. Type G is a solid circle and type S is a hollow circle as illustrated below.


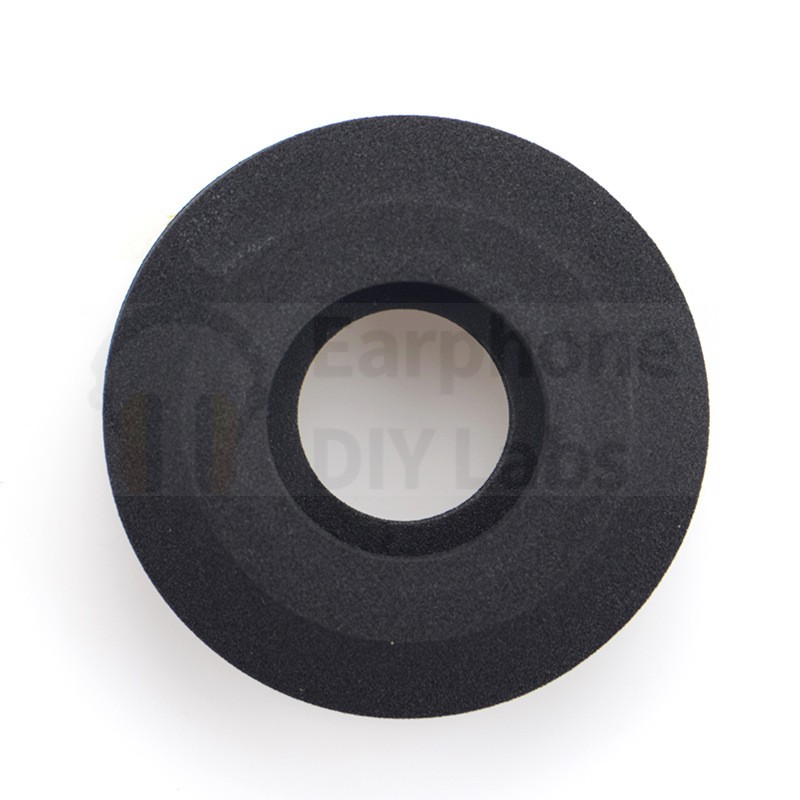
G cushion
Important notice
- This is an empty headphone shell without drivers. It can NOT be used directly like ordinary earphones you may purchased elsewhere.
- Enjoy yourself but please proceed with caution in your own DIY project! Any modification to the shell or its accessories would make you lose our post-sale support or refund.




bnngv (verified owner) –
I replace it with my Grado SR60, and I like it, I am not trying to copy as the original Grado look, but I like the look of the wood instead of the original hard plastic SR60.
Thank you
Geoff Baxter (verified owner) –
Just received my set. They are absolutely beautiful. Quality is actually much better than the pictures show!! I highly recommend these!!
joan –
Does the sound improve with these? Thanks
Jeff S. (verified owner) –
I’ve been listening to the new wood cups on Grado SR80e headphones. First impressions are that they are made well and look very nice. Only complaint i have is with the gimbals; they have very little retention with the factory plastic rodblocks. This causes the earcups to constantly slide off the headband which of course is annoying. A solution was to put a small dab of vasoline on the rods to create resistance but ultimately I purchased their “Headband and Bracket for Grado” kit. As for sound I did notice an ever-so-slightly warmer sound as well as an equal decrease in Grado’s notorious high frequencies. Overall its worth the price if fashion is important to you with the added benefit of a very slight sonic change.
Thilo Muster (verified owner) –
Very nice looking and beautifully made. Same remark to the gimbals as above. For me the sound changes quite a lot, yielding a much warmer «bassy» sound, but also less clear especially in the low midrange. I wouldn’t say, they sound better, but different: more bass and warmth, less equilibrium. It would be nice to have a better description of the modification to make. In my model the screws projected slightly into the inside which caused the wood to crack when I inserted the plastic ring. So I had to file down the screw and repair the wood with superglue which worked. By the way, I find it rather cheap to glue a screw into wood – not really at the height of the high-end image and the quite high price.
Overall, I am nevertheless happy to be able to repair my hedphones.
Eric –
Ordered right before Christmas, received it very fast. I set cups grill-side down in hot water, pulled them out and had them installed in about 10 minutes. Cups were press fit, and are not going anywhere, no glue required. Installed on SR80e’s it looks great and sounds better, but probably the same accounting for placebo 😛
Overall good build quality, would recommend.